FSCH POSTS
Hi, I'm Haifisch, and these are some posts.
dumping the snake nand
by haifischUhhhh, hi, here’s a quick guide on dumping the NAND on your IS-SNAKE devkit. Maybe applicable to the PARTNER-CTR but I have not tested. Not entirely sure if this post needs to be made but since most NAND-dumping tutorials usually jump to installing Luma3DS and then installing the GodMode9 luma payload to perform a NAND dump which, in the world of devkit collecting, can really bite you in the ass.
Someone Who Isn’t Me has a SNAKE that they installed CFW to and would like to remove, an issue being they didn’t make a clean dump of the NAND prior. GM9’s scripts are probably not all that great to run on devkits in general, and they are currently are unable to remove the CFW.
Making this post so people just avoid installing CFW to simply NAND dump if possible.
Word of warning
GodMode9 might be very well broken with working with NAND restoring on devkits. I have yet to personally need / test restoring a backup personally but from others testing it seems that the scripts may not be entirely happy when removing CFW.
Just because there may be no way to restore now, doesn’t mean there won’t be a way in the future so its best practice to keep clean dumps whenever possible.
FLASHCART REQUIRED :(
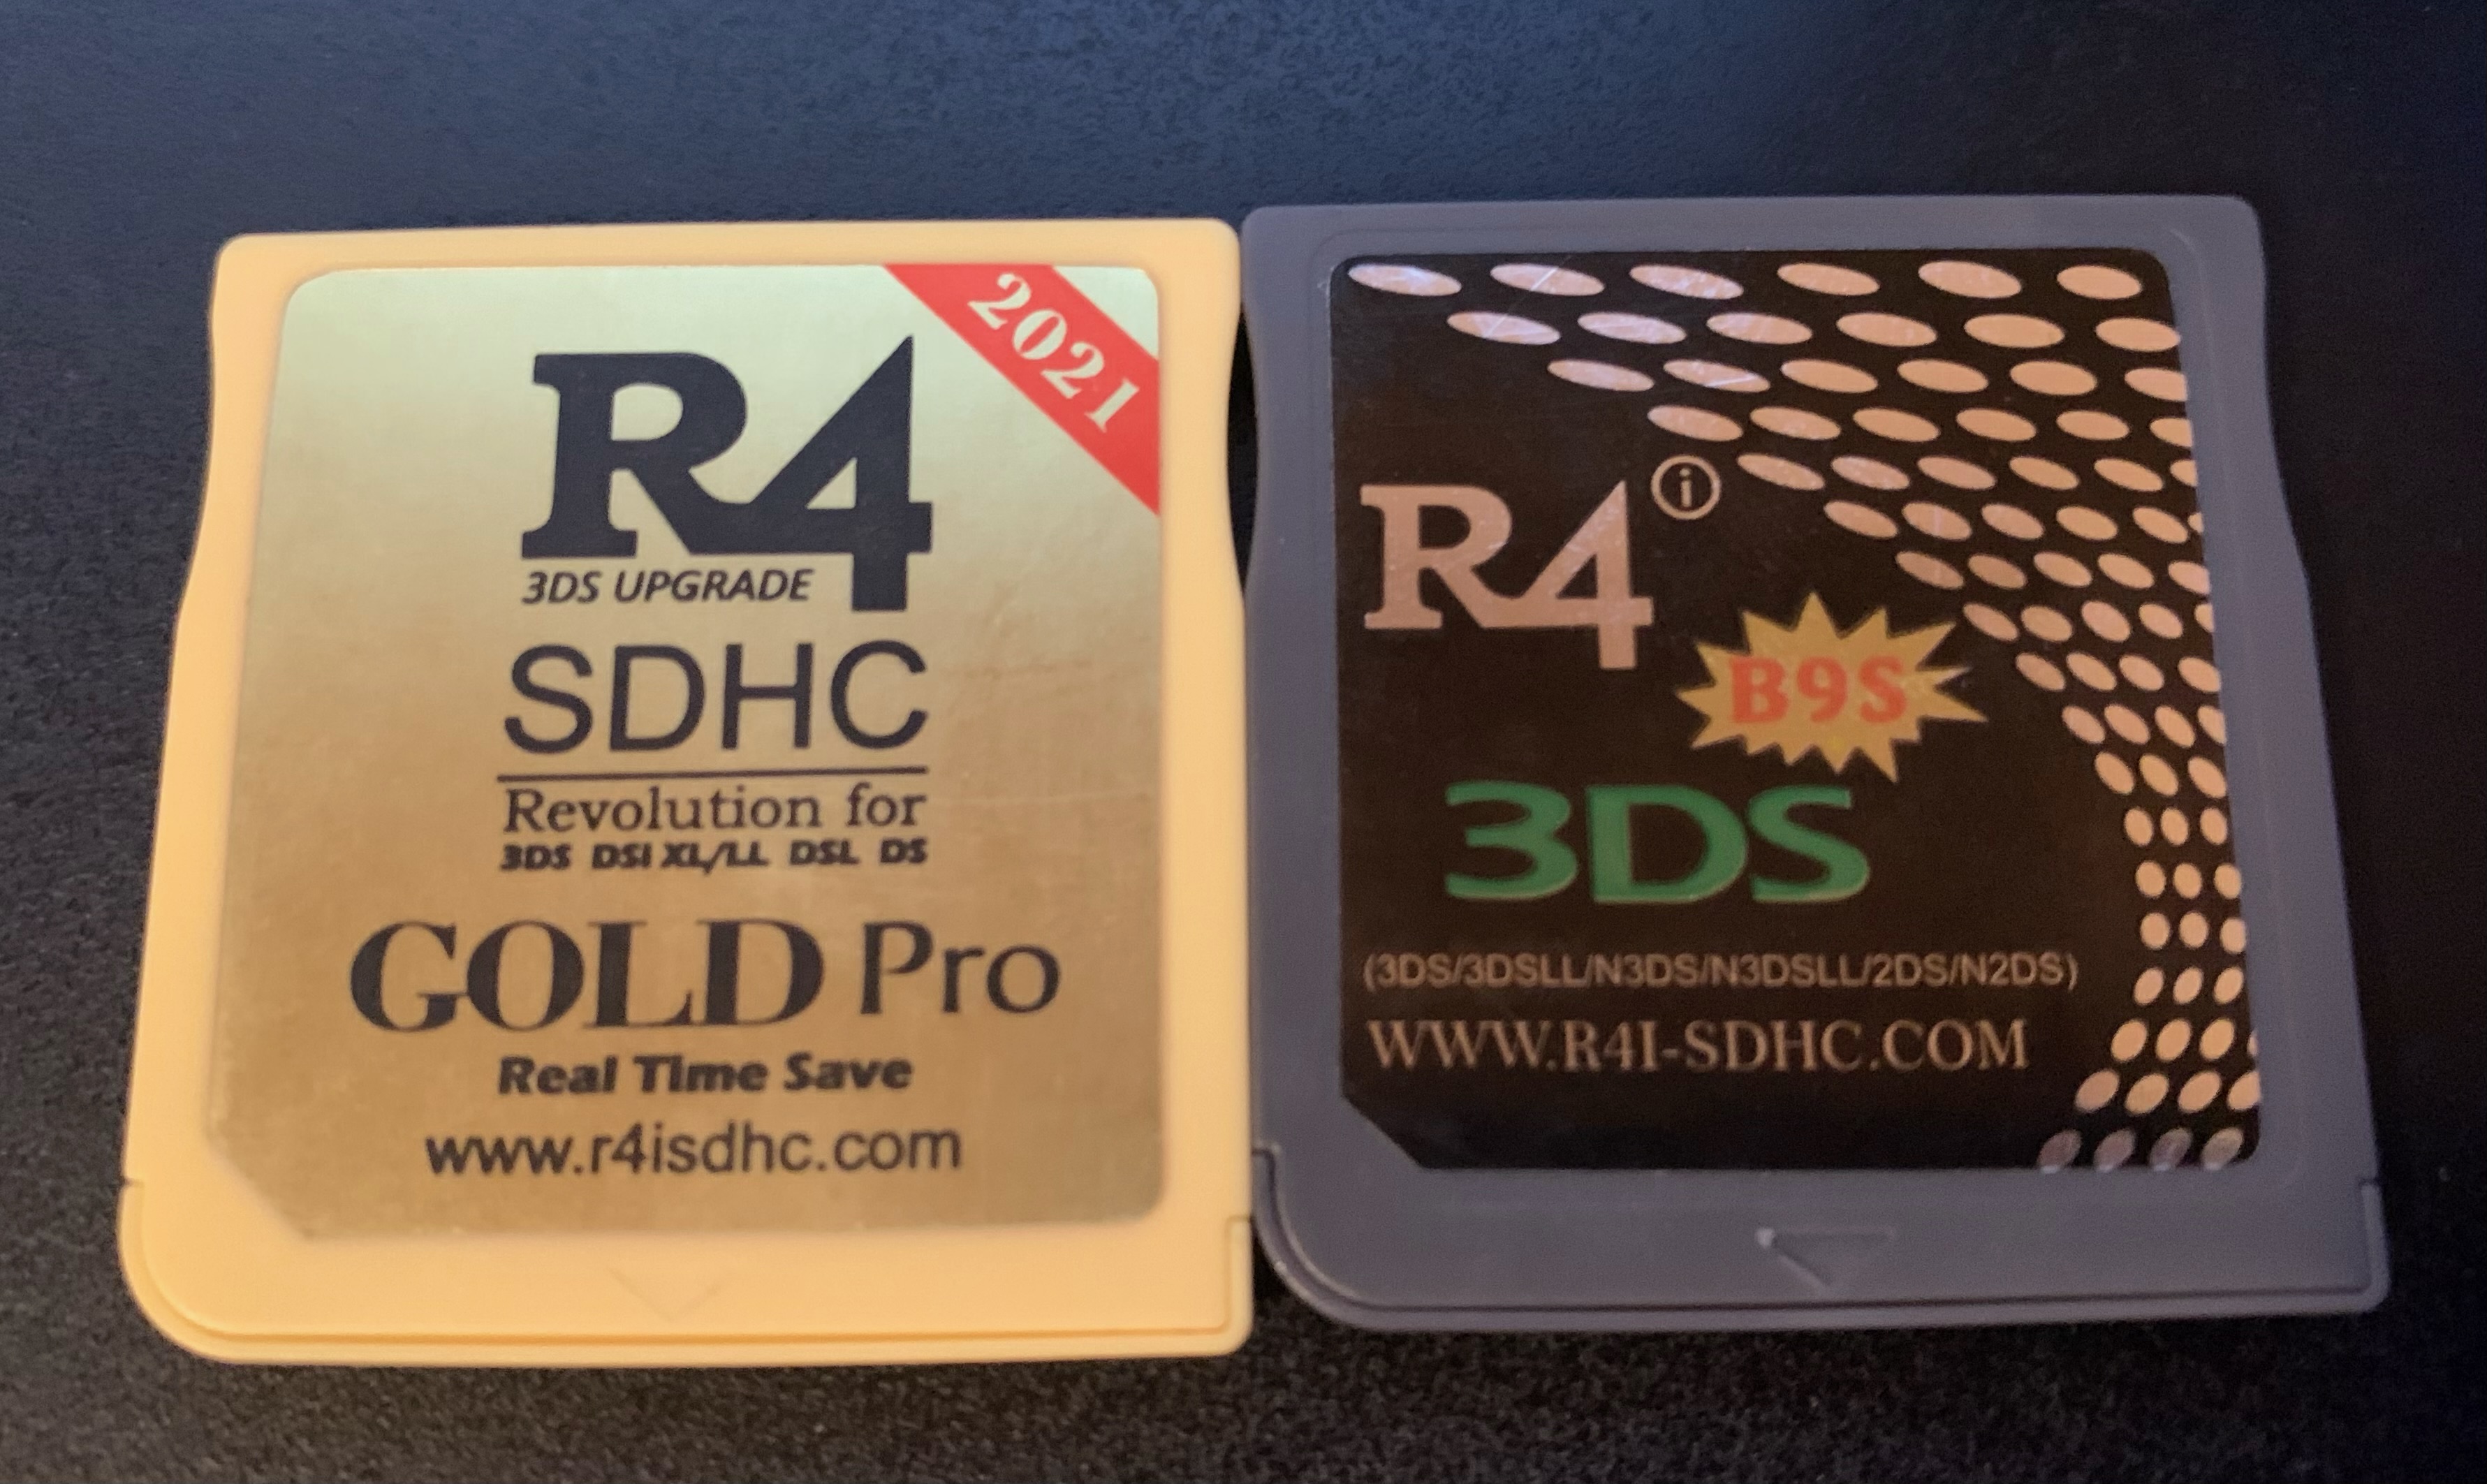
I bought a R4 SDHC Gold Pro on Amazon, I DO NOT recommend using this cartridge it does not seem to “work well.”
The R4i 3DS B9S on nds-card.com seems to work great, not too sure about other ntrboot-capable cartridges but avoid Amazon cartridges if possible.
Prerequisites
- GodMode9 v2.1.1, as of time of writing.
- ntrboot_flasher v0.5.0, as of time of writing.
- a retail unit with Luma3DS installed.
- a snake devkit that you’d rather not install boot9strap to cause it may be a pain to remove.
Initial setup
- Extract the GodMode9 release
- Find
GodMode9_ntr_dev.firmandGodMode9_ntr_dev.firm.shainsidentrboot/ - Copy them into
sd:/ntrboot/on your retail 3DS with Luma3DS. - Rename files as follows;
GodMode9_ntr_dev.firm->boot9strap_ntr_dev.firmGodMode9_ntr_dev.firm.sha->boot9strap_ntr_dev.firm.sha
- Copy
ntrboot_flasher.firminto/luma/payloads.
This is what the sd:/ntrboot folder should look like on the retail 3DS when complete with initial setup.

Flashing the flashcart.
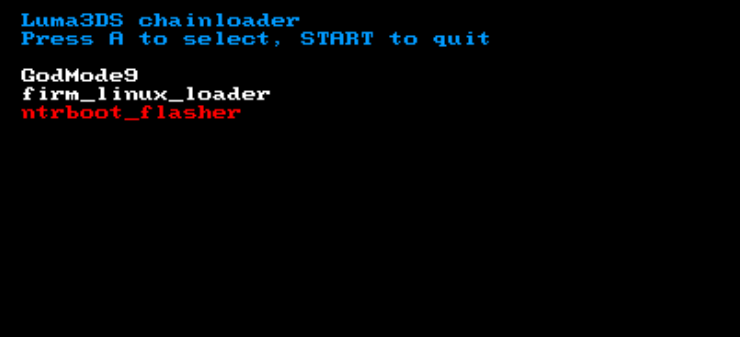
1) Boot into Luma3DS chainloader on the retail unit by holding start on boot and select the ntrboot_flasher option.
2) Precautionary backup of your cart’s flash would be wise.

3) Select Inject Ntrboot
4) PRESS Y FOR DEVELOPER UNIT NTRBOOT.
5) Leave the console be until it firmware writing is finished.
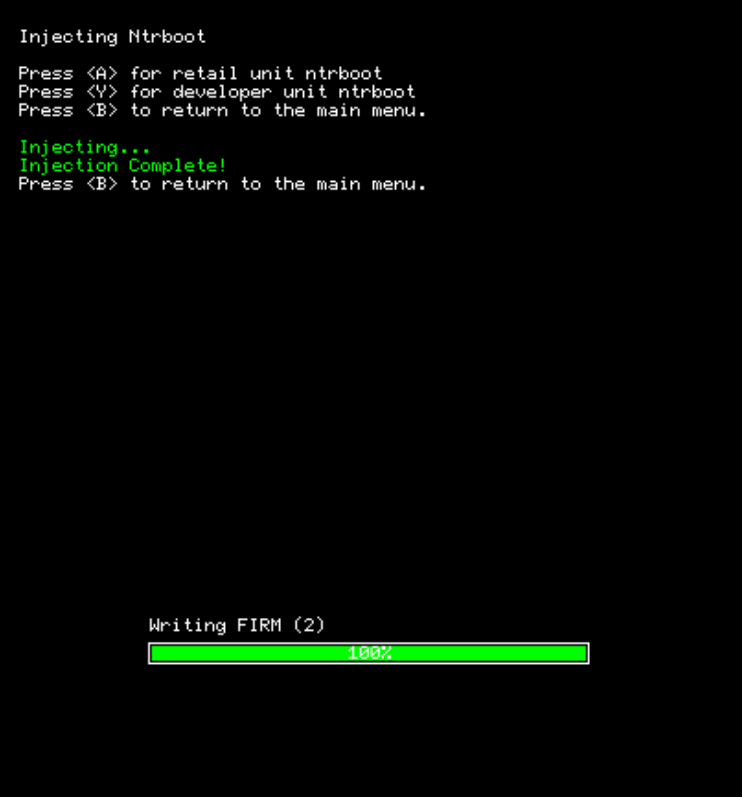
6) Press, B once it is done and then reboot/poweroff the unit.
7) Eject the flashcart from the unit.
The retail console can be put to the side as it won’t be needed for anything hereafter.
At last, the IS-SNAKE dump.
Do not connect IS-CTR-DEBUGGER software during this process, not 100% sure it affects anything but better to not have something else pushing the machine around while you are.
Do note that I have my SNAKE Home Menu Config set to the test menu, triggering a power cycle is one-click of the power button from there.
1) Start with the SNAKE box powered off.
2) Insert the flashcart into the machine.
3) Power on the SNAKE box.
4) Place magnet under B button location.
5) Quickly hold POWER + START + SELECT + X with one hand.
6) Keep holding until the SNAKE boots.
You should see the GodMode9 initialization screen shortly after if everything worked, booting with the ntrboot seems to be little bit trickier compared to their retail counterparts.
Once in GM9, hit the home button to bring up the menu.
1) Select Scripts
2) Select GM9Megascript
3) Select Backup Options
4) Select SysNAND Backup
5) Follow prompts :)
Everything else; Scripts -> GM9Megascript -> Dump
essentials.exefs is not dumpable same with boot11.bin and boot9.bin, continue on to see what to do when ninfs complains.
COPY YOUR NAND CID MANUALLY
GM9’s script to copy the essential.exefs fails, due to this I believe the NAND dump produced can be considered incomplete as-per homebrew specs. If you want to mount your NAND, copy your CID now to save yourself some time.

ninfs mounting
ninfs gui will error with the following.
Cannot set WinFsp-FUSE file system mount point.
The service ninfs has failed to start (Status=c0000275).
Failed to do AttachConsole(27568): 0
(Note: this most likely isn't the cause of any other issues you might have!)
"nand_cid" not found in essentials backup, update with GodMode9 or provide with --cid
Attempting to generate Counter for CTR/TWL areas. If errors occur, provide the CID manually.
Counter for CTR area automatically generated.
Counter could not be generated for TWL area. Related virtual files will not appear.
Simple fix, don’t use the gui.
PS X:\NAND_WORK> py -3 -mninfs nandctr --dev --otp UNKNOWN_otp_00.bin --cid X:\NAND_WORK\nand_cid.bin 221119_UNKNOWN_sysnand_00.bin mnt
ncsd idx:0 fstype:1 crypttype:1 offset:00000000 size:0b100000 /twlnand_full.img
ncsd idx:1 fstype:4 crypttype:2 offset:0b100000 size:00030000 /agbsave.bin
ncsd idx:2 fstype:3 crypttype:2 offset:0b130000 size:00400000 /firm0.bin
ncsd idx:3 fstype:3 crypttype:2 offset:0b530000 size:00400000 /firm1.bin
ncsd idx:4 fstype:1 crypttype:3 offset:0b930000 size:41ed0000 /ctrnand_full.img
The service python has been started.
